Gingerbread House Kit Card: how we designed it
The story behind our gingerbread house kit card: one flat card off the printer, pieces that slot together without glue, and windows that glow at night.
- Gingerbread house
- Kit card
- Christmas
- No glue
- Blender
- Bambu Lab
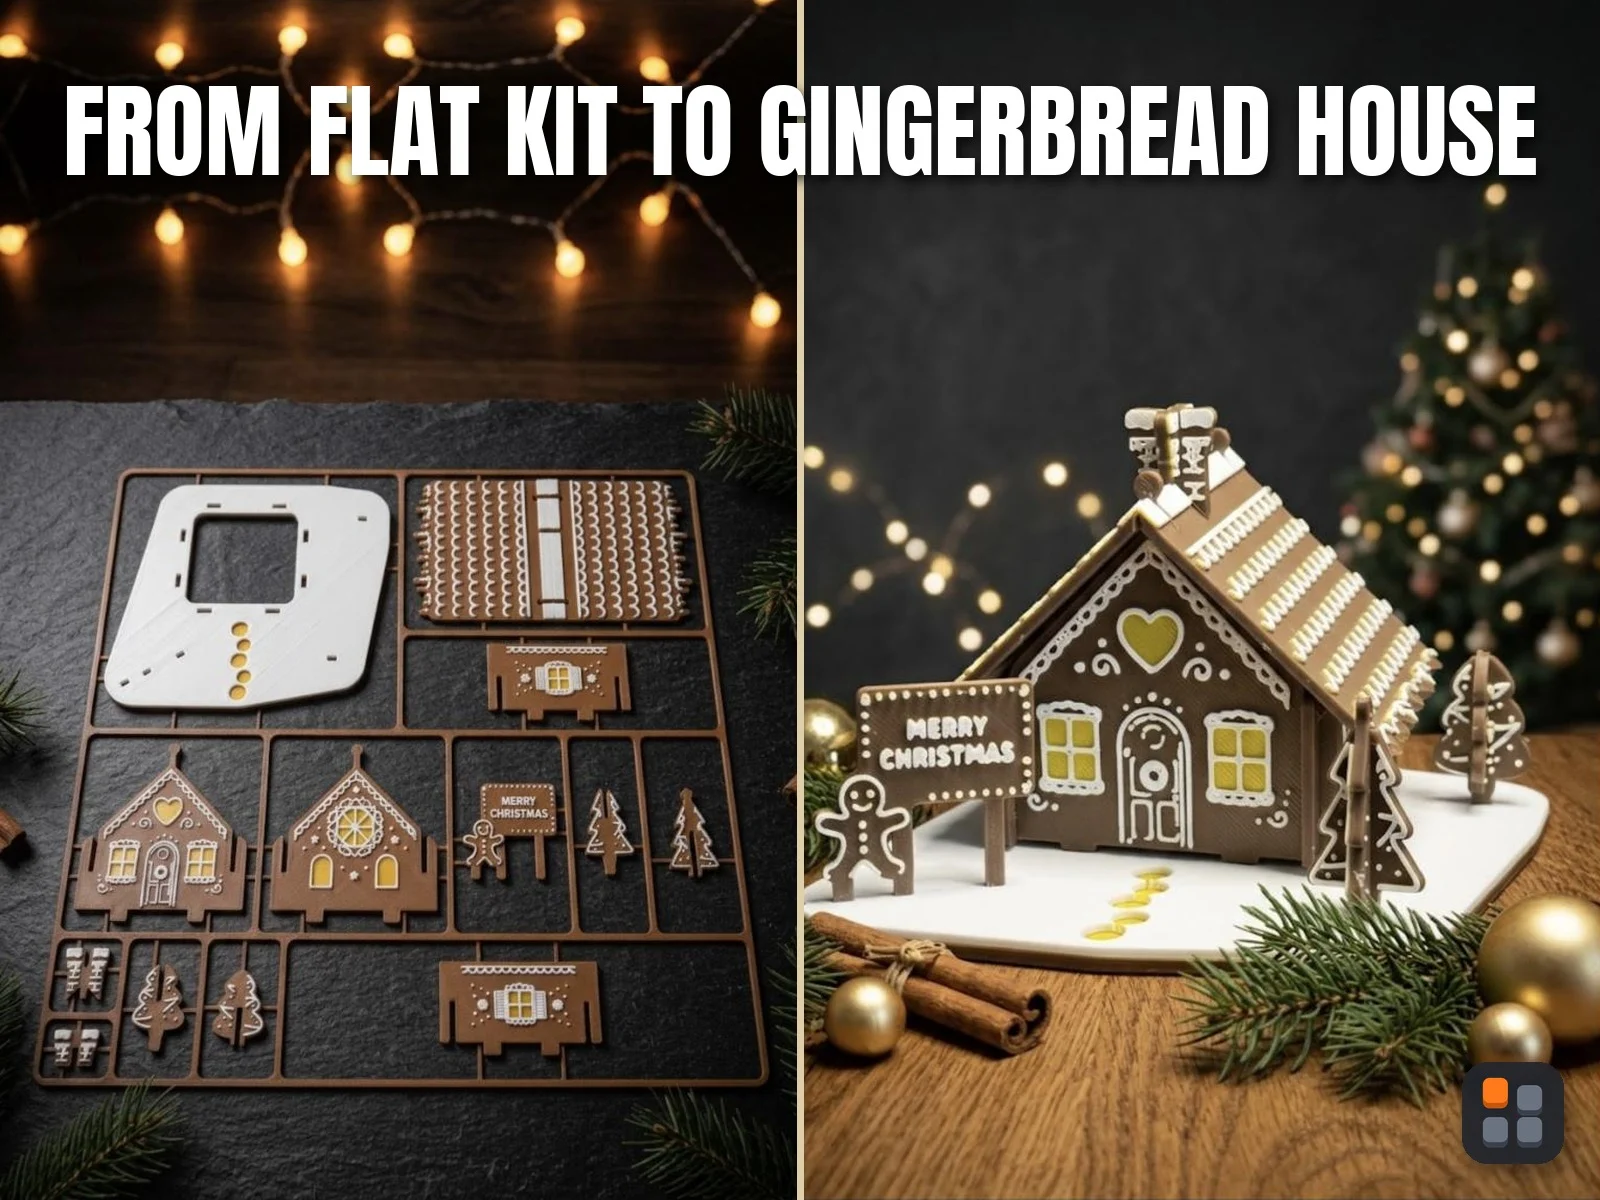
We wanted a gingerbread house you could build at the kitchen table on a winter evening: one flat card straight off the printer, like a model kit, and a little house that glows when you slip a tea light inside. It took a few tries to get there.
Flat shapes first
Every piece started as a flat vector drawing: the outline of each wall, the windows and the door, the heart in the gable, the scalloped icing along the roof. We kept it to three colours: gingerbread brown, window yellow and icing white.
Then came the fun part. We extruded the wall outline into a solid, cut the windows and the heart out of it with a boolean, closed every window with a thin yellow pane so the light can shine through, and raised the white icing on top. Because each colour sits at its own height, the printer only has to change filament twice.

Joints that hold without glue
We didn't want glue anywhere, and we didn't want anything to wobble either. That took more test prints than we expected: small test pieces with slots a hair wider or narrower, printed one after another, until the walls slid in easily and then held. The slots now get a little tighter right at the end, so you feel each corner grip.
The roof is one piece that folds along a groove cut from underneath. The chimney, the trees and the sign push into the snowy base.
Building it on screen first
Before printing the whole card, we laid every piece out in a frame and put the house together on screen, to make sure every piece fits and nothing bumps into anything else. Here it is in Blender, building itself from the card.
It didn't work the first time
The first card came off our Bambu Lab printer after about two and a half hours, and we couldn't wait to build it.
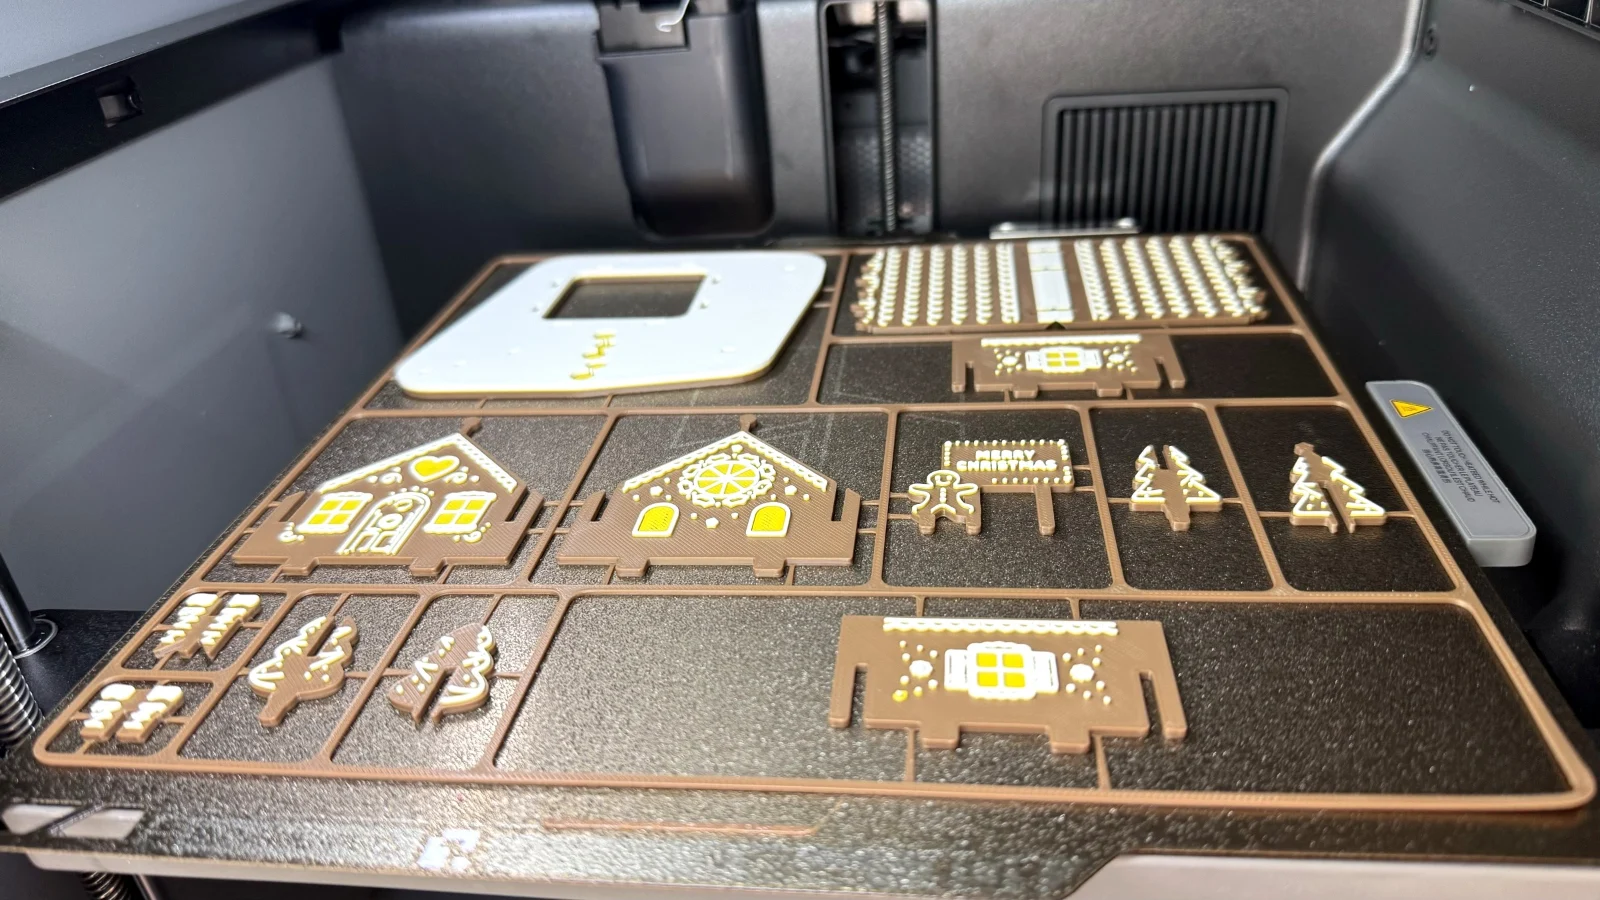
Two things went wrong. The tabs that go into the base were so tight we really had to push, and the roof wouldn't sit down: its edges kept lifting.
Why a good fit on screen isn’t a good fit in plastic
A printer never puts plastic exactly where the drawing says. The first layer is pressed into the bed so it sticks, and it spreads out a little: the bottom of a slot comes out narrower than drawn, and the foot of a tab a little fatter. On our test plate, a slot that opens at the bottom of a piece, right where that first layer is, needed more room than one that opens at the top: about 0.08 mm on each side against 0.06. Tiny numbers, but you feel every hundredth of a millimetre when you push two parts together.
Which way a hole faces when it prints matters just as much. A hole lying flat on the bed is traced as a clean outline, layer after layer; the same hole printed on its side is built from stacked layers and comes out a different size. So a fit you tested lying flat won’t feel the same once the part prints upright or slides in from the side. For one small magnet we ended up with three pocket sizes: one opening on the bed, one facing up and one lying on its side, which had to be drawn the smallest. The only test that tells the truth is printing the joint exactly the way the real part will print, and pushing it together.
So, back to the drawing board. We reworked the joints and printed a test plate: a row of slots, each a little different, with tabs to push into every one and feel how it goes in. Once we found the fit that slides in easily and then holds, we gave the base slots that room and made a new joint for the roof. Now the pieces go in easily and the roof stays put.
And then the best moment of all: switching on the tea light and watching the little windows light up.
Make your own
The files are free on MakerWorld: the full kit card, or just the pieces if you'd rather skip the twisting out. They work with or without an AMS. You'll need a printer with a 256 mm bed, so the A1 mini is a little too small for this one.